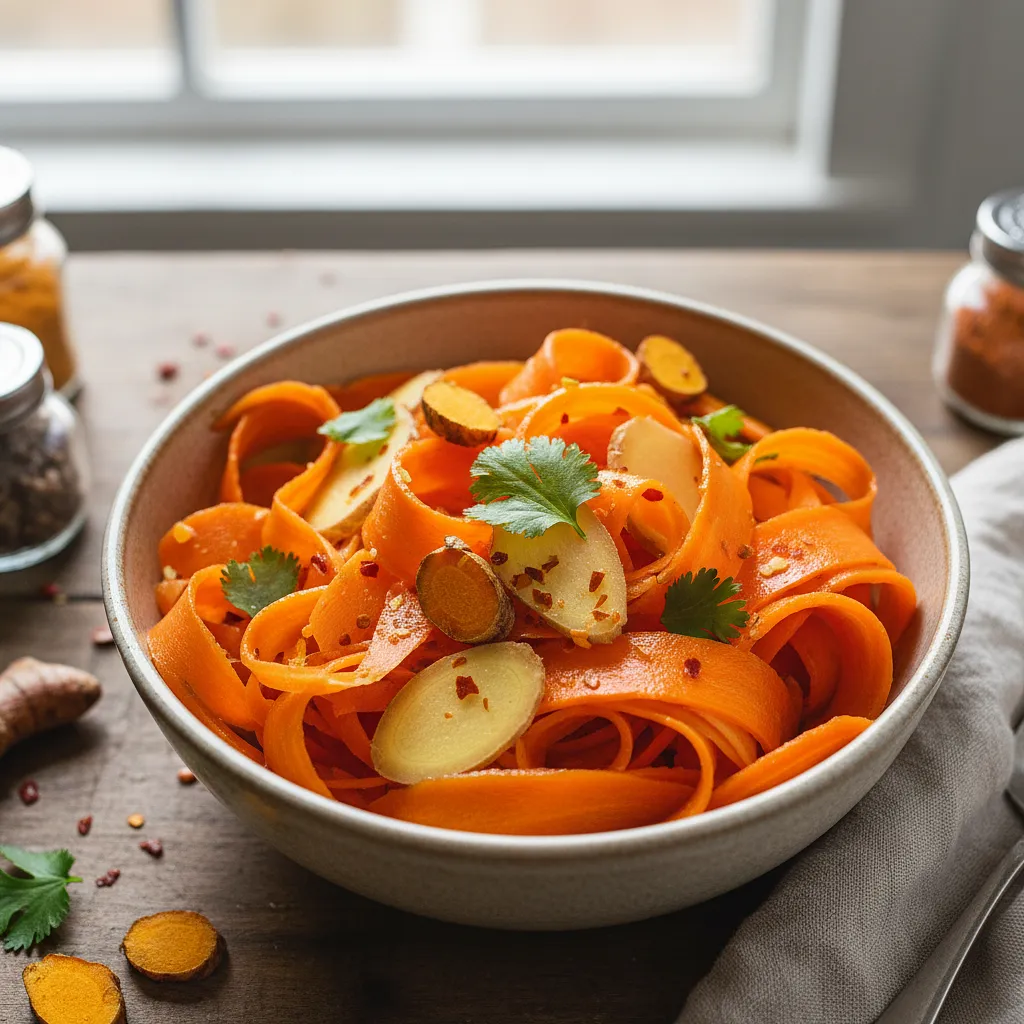
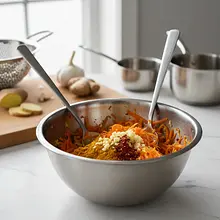
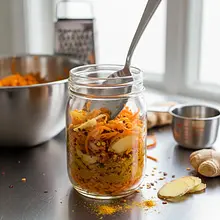
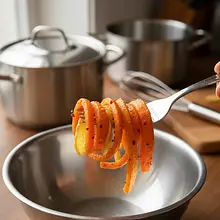
Start by preparing the vegetables. Thoroughly wash the carrots under running water, using a vegetable brush to remove any dirt. Then peel them with a vegetable peeler. Cut off the ends. You can grate the carrots on a coarse grater, cut them into thin strips (julienne) with a sharp knife or mandoline, or use a food processor with the appropriate grating disc. The goal is to achieve thin shreds or strips that will easily release juice.
Description
Discover the world of homemade fermentation with this simple yet incredibly aromatic recipe for fermented carrots. This is not just any pickle – it’s a true explosion of flavors and health that will enliven any dish. The combination of the natural sweetness of carrots with the sharp, warming ginger, earthy notes of turmeric, and fiery kick of cayenne pepper creates a snack with a complex, multi-dimensional flavor profile. Visually, it presents spectacularly with its intense orange color enhanced by the gold of turmeric. The process of lacto-fermentation not only preserves the vegetables but also enriches them with valuable probiotics that support gut health. This pickle is a fantastic addition to main dishes, salads, sandwiches, and also serves as a standalone, crunchy, and refreshing snack. It’s the perfect way to preserve summer flavors for longer and introduce natural, unpasteurized products full of vitamins and minerals into your diet.
Ingredients (9)
- Carrot 12.5 szt.
- Fresh ginger 50 g
- Garlic 4 ząbki
- Filtered water 500 ml
- 🌿 Przyprawy
- Uniodized rock salt 2 łyżki
- Ground turmeric 1 łyżeczka
- Cayenne pepper 4 szczypty
- ✨ Opcjonalne
- Bay leaf 6.7 szt.
- Mustard seeds 1 łyżeczka
💡 Kliknij na składnik aby oznaczyć jako użyty
Preparation steps
Preparation of ingredients
Prepare the aromatic additions. Peel the ginger root by scraping off the skin with a teaspoon or a peeler. Also peel the garlic cloves. Grate both the ginger and garlic on a fine grater or press them through a garlic press. We want to achieve almost a paste that will evenly distribute throughout the carrot mixture.
In a large, clean bowl, place the grated carrot. Add the grated ginger, garlic, turmeric, and cayenne pepper. If you are using optional ingredients, add the mustard seeds now. Put on clean gloves (turmeric stains heavily!) and mix everything thoroughly with your hands, while kneading and massaging the carrot for about 5-7 minutes. The goal is for the carrot to start releasing juice. You will notice that its volume decreases slightly, and liquid will appear at the bottom of the bowl.
Preparing the brine
Prepare the brine. In a separate jug or bowl, pour in 500 ml of filtered (or boiled and cooled) water. Add 30 grams of non-iodized rock salt. Stir vigorously with a spoon until the salt is completely dissolved. There should be no visible crystals at the bottom of the container. The finished brine should be clear.
Layering in the jar
Prepare a large, sterilized jar (with a capacity of about 1.5 liters). Pack the carrot mixture into the jar in batches, pressing it down firmly and tamping it down with a clean fist, wooden stick, or pestle after each batch. The goal is to remove as many air bubbles as possible and to tightly pack the vegetables. If you are using bay leaves, place them between the layers of carrots.
Once all the carrots are in the jar, pour in the brine you prepared earlier. Pour slowly, allowing the liquid to fill all the spaces. There should be enough brine to completely cover the vegetables. The liquid level should be about 2-3 cm above the level of the carrots. Leave about 3-4 cm of headspace at the top of the jar.
To keep the carrot submerged in the brine, use a weight. This can be a special glass or ceramic fermentation weight, a small plate, a boiled stone, or even a cabbage or horseradish leaf rolled up and pressed on top in home conditions. It is important that the weight is clean and fully submerged.
Fermentation
Screw the jar on, but not too tightly – the fermentation gases need to escape. You can use a special lid with a fermentation tube or simply loosen a standard lid slightly. Place the jar on a plate or in a bowl (in case the brine overflows) in a dark place at room temperature (ideally 18-22°C).
Leave the carrot to ferment for 5 to 14 days. After just 1-2 days, you should notice bubbles rising in the jar – this is a sign that fermentation has started. If you are using a regular lid, gently unscrew it once a day to release excess gases ('de-gas'), and then screw it back on. The brine may become cloudy, which is completely normal.
After about 5 days, start tasting the fermented vegetables. Using a clean fork, take a small amount and check the flavor. If it is pleasantly sour, crunchy, and has a complex taste, it is ready. If you prefer a more intense flavor, leave it for a few more days, tasting daily. Once it reaches the desired level of fermentation, tightly seal the jar and move it to the refrigerator. The low temperature will stop the fermentation process.
Fun Fact
Vegetable fermentation is one of the oldest methods of food preservation, known for thousands of years. The process of lacto-fermentation not only extends the shelf life of vegetables but also increases the bioavailability of certain vitamins (e.g., B group and K2) and creates natural probiotics that are essential for gut microbiome health.
Best for
Tips
Serve as a crunchy addition to sandwiches, burgers, or tacos to add acidity and spiciness. Mix with natural yogurt and herbs to create a unique dip. Use as a colorful and healthy appetizer on a cheese and cold cuts board. You can also add a bit to cream soup to enhance its flavor.
Store the finished pickles in the refrigerator, in a tightly sealed jar. It is important that the vegetables remain submerged in the brine at all times. When stored properly, they will retain their freshness and flavor for at least 3-4 months, and often even longer. Over time, their taste will become deeper and more complex.
📸 Ugotowane przez społeczność
Zaloguj się, aby dodać zdjęcieDodaj zdjęcie gotowej potrawy
Po zatwierdzeniu przez moderatora otrzymasz 10 punktów doświadczenia.
Nikt jeszcze nie dodał zdjęcia. Bądź pierwszy!
Comments (0)
Be the first to comment on this recipe!
Add a comment