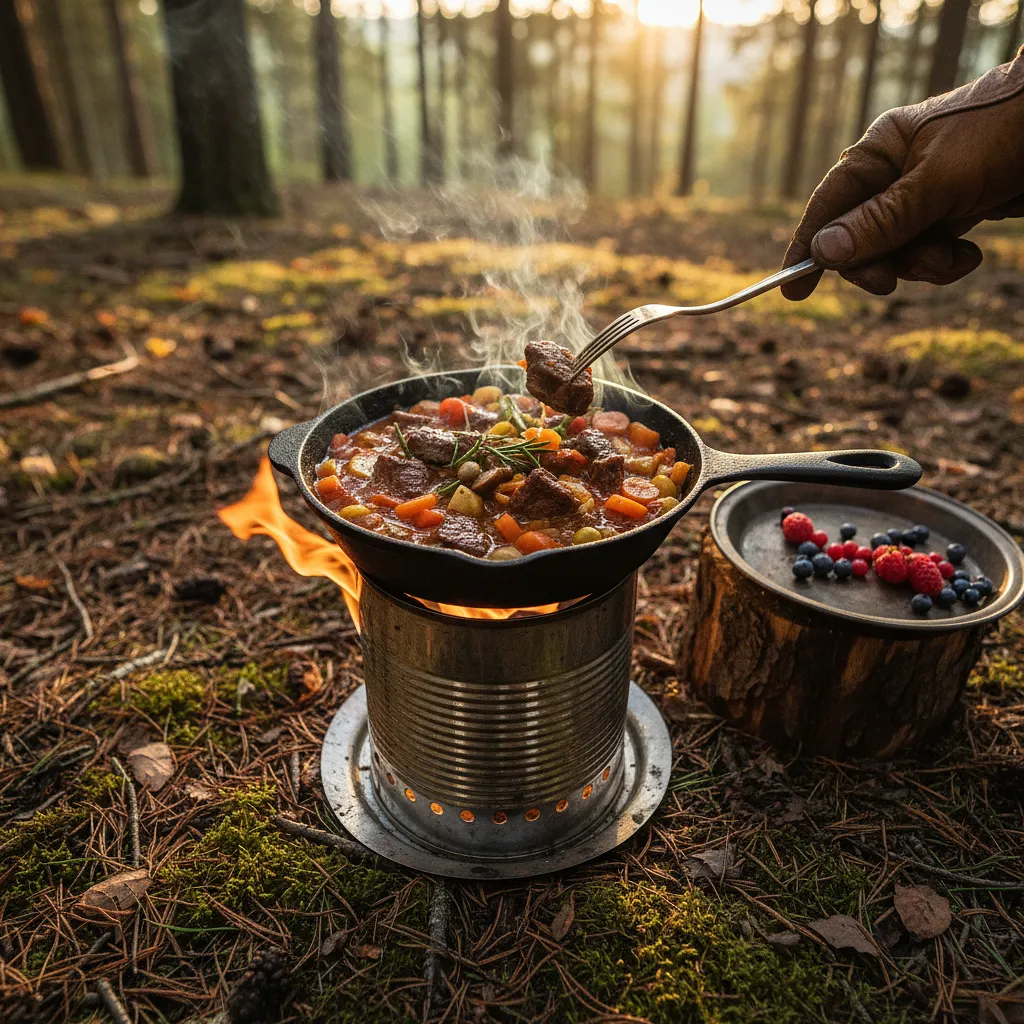
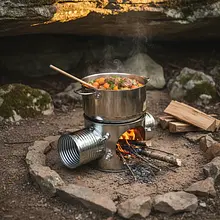
Thoroughly wash and dry two aluminum cans. Gather all the necessary tools: a sharp utility knife or scissors, a permanent marker, a ruler, a thick book or a block about 3-4 cm high, sandpaper, and a pushpin or small nail. Prepare a stable workspace, such as a workbench or desk protected with a cutting mat.
Description
Here is a complete guide on how to create an ultra-lightweight, efficient, and reliable alcohol stove from two ordinary beverage cans. This is a classic project in the world of survival and ultralight trekking, known as the 'penny stove' or alcohol stove. It is the perfect solution for anyone who values minimalism, independence, and the satisfaction of handmade gear. The 'Fire Can' stove is astonishingly efficient – it can boil half a liter of water in just a few minutes, using minimal fuel. Its greatest advantages are almost zero cost, featherweight (just a few grams!), and compact size, allowing it to fit in your pocket or the smallest corner of your backpack. It is ideal for heating freeze-dried meals, brewing coffee on the trail, or as an emergency source of heat. The construction is simple and does not require specialized tools, and the end result provides immense satisfaction.
Ingredients (3)
- 330ml aluminum can 2 szt.
- Technical spirit (denatured alcohol) 100 ml
- ✨ Opcjonalne
- Cotton or glass wool 5 g
💡 Kliknij na składnik aby oznaczyć jako użyty
Preparation steps
Preparation of components
Precisely mark the cutting lines. Place a book (or block) on a flat surface. Lean a marker against it so that its tip is about 3.5 cm above the countertop. Bring the first can close to the marker and slowly rotate it, drawing a perfectly straight, horizontal line around its circumference. Repeat the process with the second can.
Carefully cut both cans along the drawn lines. You can do this in two ways: 1) Using a utility knife, gently score the line while rotating the can until the blade goes all the way through, then finish the cut. 2) Make the first cut with a knife, then insert the blade of scissors into it and slowly cut along the line. You will only need the bottoms of both cans.
Smooth the edges of both cut ends. Take a piece of sandpaper (with a grit of about 180-220) and place it on a flat surface. Grab one of the ends and, making circular motions, sand its edge until it becomes smooth and free of burrs. Repeat the process with the second end. Check the smoothness by gently running your gloved finger over it.
Assembly of the stove
One of the discs will be the outer part, and the other will be the inner part. Gently pinch the circumference of one of the discs with your fingers in a few places to slightly reduce its diameter. This will be the inner part. This will make it easier to slide it into the other disc.
If you are using cotton, place a small amount inside the bottom part (the uncompressed one) now. Spread it evenly on the bottom. Then, carefully but firmly, slide the compressed bottom into the other one until the edges align. They should fit tightly, creating a sealed, closed chamber.
Make the burner holes and fuel inlet. Use a pin or a small nail to create one central hole at the top of the stove - this will be the fuel inlet. Then, around the edge of the top surface, make 8 to 16 small holes at equal intervals. Angle them slightly outward, at about 45 degrees. These will be the burner nozzles.
First launch
Test the stove. Go outside to a sheltered area away from flammable materials. Pour about 20-30 ml of spirit through the central opening into the stove. Spread a little fuel on the top surface of the stove, around the openings. Light the alcohol on top. Initially, the flame will be yellow and weak.
Wait about 30-60 seconds. The heat from the flame will warm the alcohol inside the stove, causing it to evaporate. As the vapor pressure increases, gas will start to escape through the side nozzles and ignite, creating a spectacular, quiet, and hot flame, similar to that of a gas stove. Your stove is ready to use! To extinguish it, simply blow out the flame or cover it tightly, for example, with the bottom of a cup.
Fun Fact
These types of stoves, often called 'penny stoves', became popular among tourists in the 1990s. The name comes from a variant of the design where a coin (e.g., a penny) was placed on the filling hole to regulate pressure and flame once heated.
Best for
Tips
To increase efficiency, build a windbreak using thicker aluminum foil. For cooking, use a lightweight metal cup or a small pot. You can also make a simple stand from wire to hold the vessel more stably and slightly higher above the flame, which improves oxygen flow.
Before storing the stove, make sure it is completely cold and empty. Never store or transport the stove with fuel inside. Store the spirit separately in a tightly sealed, labeled bottle.
📸 Ugotowane przez społeczność
Zaloguj się, aby dodać zdjęcieDodaj zdjęcie gotowej potrawy
Po zatwierdzeniu przez moderatora otrzymasz 10 punktów doświadczenia.
Nikt jeszcze nie dodał zdjęcia. Bądź pierwszy!
Comments (0)
Be the first to comment on this recipe!
Add a comment