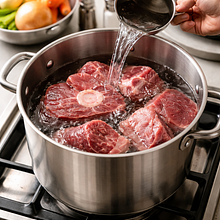
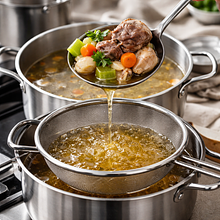
Check the meat: rinse the beef and the whole chicken under cold running water, removing excess blood and small remnants (tendons, loose pieces). If you are using a whole chicken, you can remove excess fat from the inside. Pat the pieces dry with a paper towel.
Ingredients:
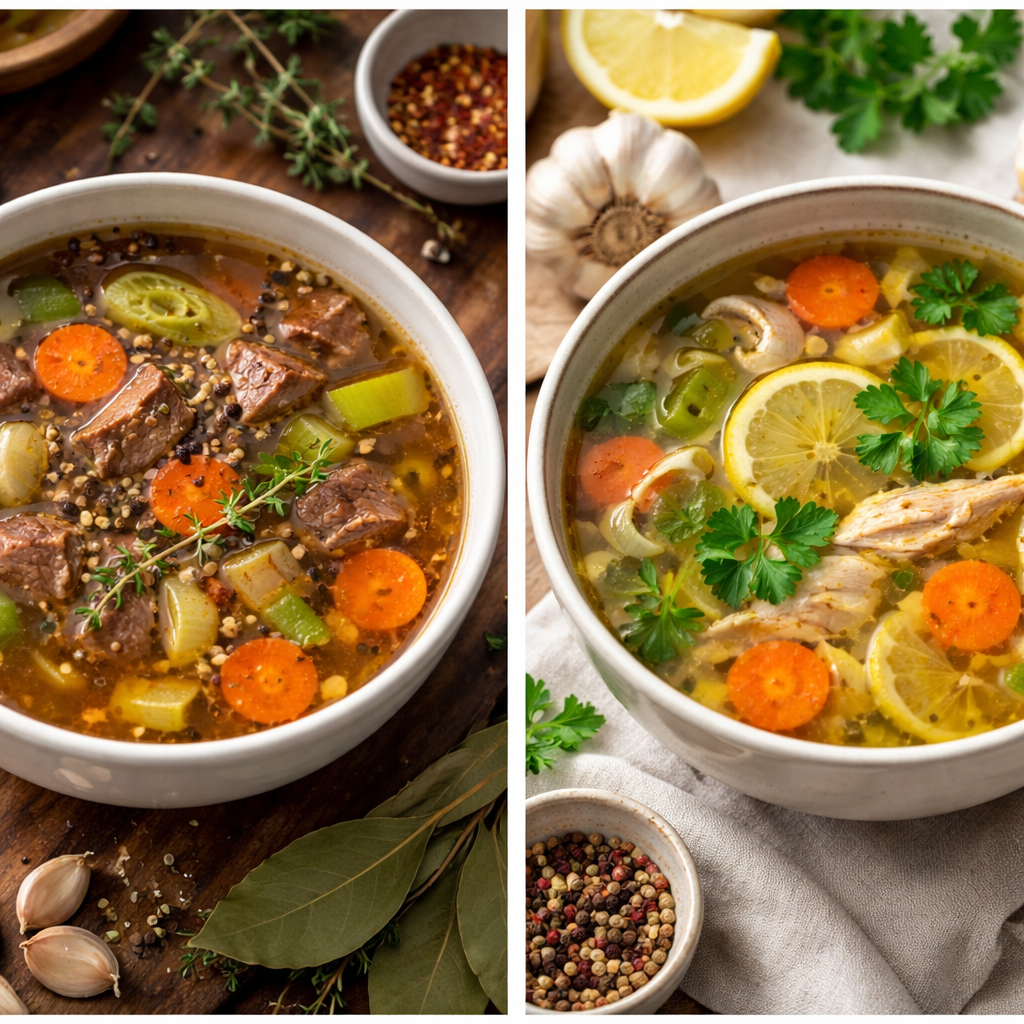
Beef for broth (brisket/ribs with meat), Whole chicken (thawed, preferably organic)
Use a large cutting board and a sharp knife. A bowl of water next to the sink will make rinsing easier. Do not leave the meat in the water for long — just a quick rinse.


Comments (0)
Be the first to comment on this recipe!
Add a comment