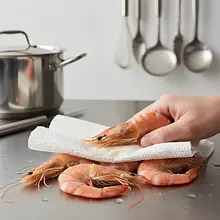
Best method (slow): Take the shrimp out of the freezer about 8-12 hours before cooking. Leave them in their original, tightly sealed packaging. Place the package on a deep plate or in a bowl (to prevent water from leaking onto other products) and put it in the refrigerator. Slow thawing at a low temperature is the safest method that ensures the perfect texture of the shrimp.
Ingredients:
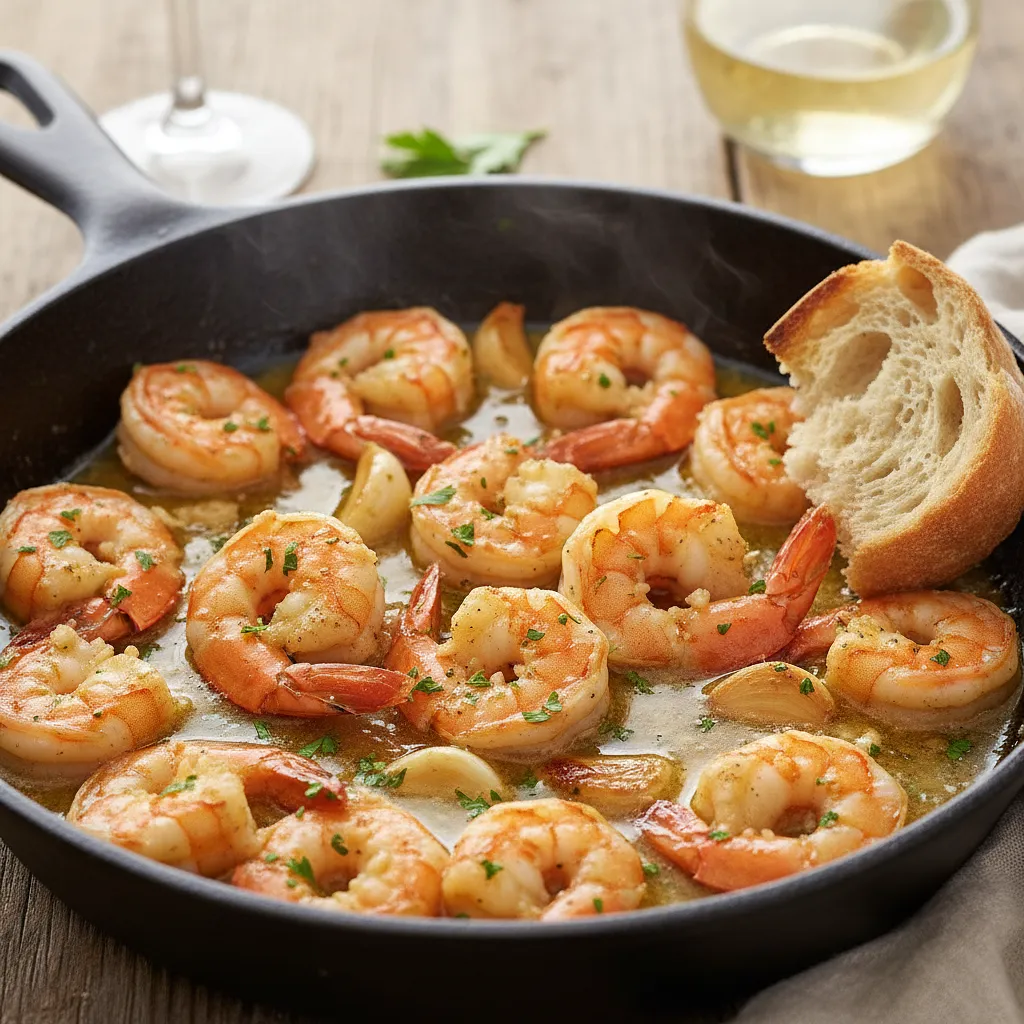
Raw, frozen shrimp
NEVER thaw shrimp (or any meat or fish) at room temperature on the kitchen counter! This promotes rapid bacterial growth. A plate under the packaging is important because packaging often has micro-damages.


Comments (0)
Be the first to comment on this recipe!
Add a comment